
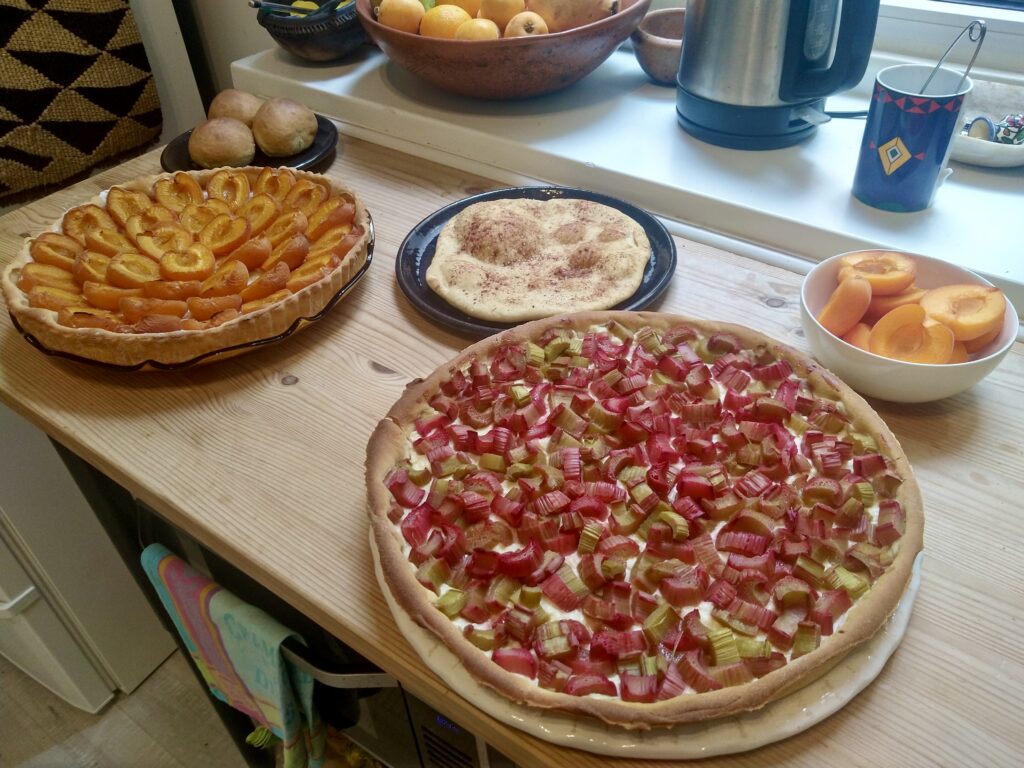
A typical start for vlaai baking: for weeks, I had planned to make you vlaai filled with rice pudding, as it is one of my and my family’s favourites. Making it shows how much technique and finesse there is involved in the tradition of vlaai, how much of an art it is. Rice vlaai is royal like a queen.
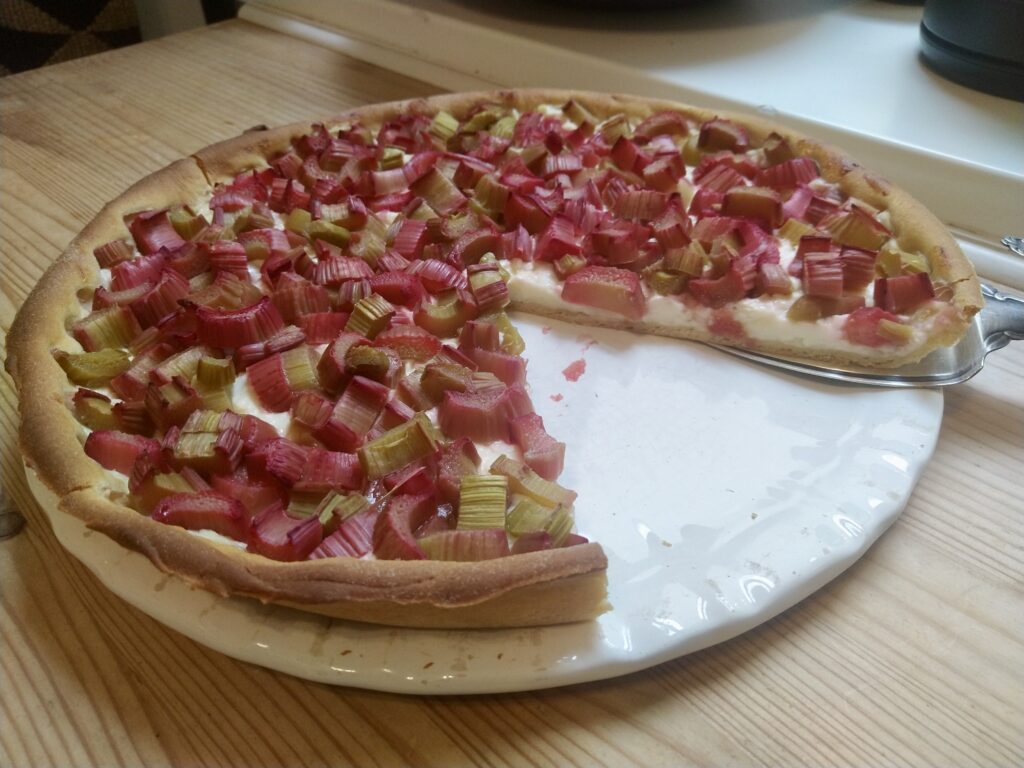
Then, the weather changed. Suddenly it was 25 degrees out and I was really not in for creamy sweet warming cinnamony rice pudding anymore, as odd as that may sound. On top of that, I couldn’t prepare the rice pudding the evening before this time (which is best) and so I decided to abandon the idea of rice vlaai and show you vlaai’s art in other colours. (Do let me know if you still want to see how to make rice vlaai.)
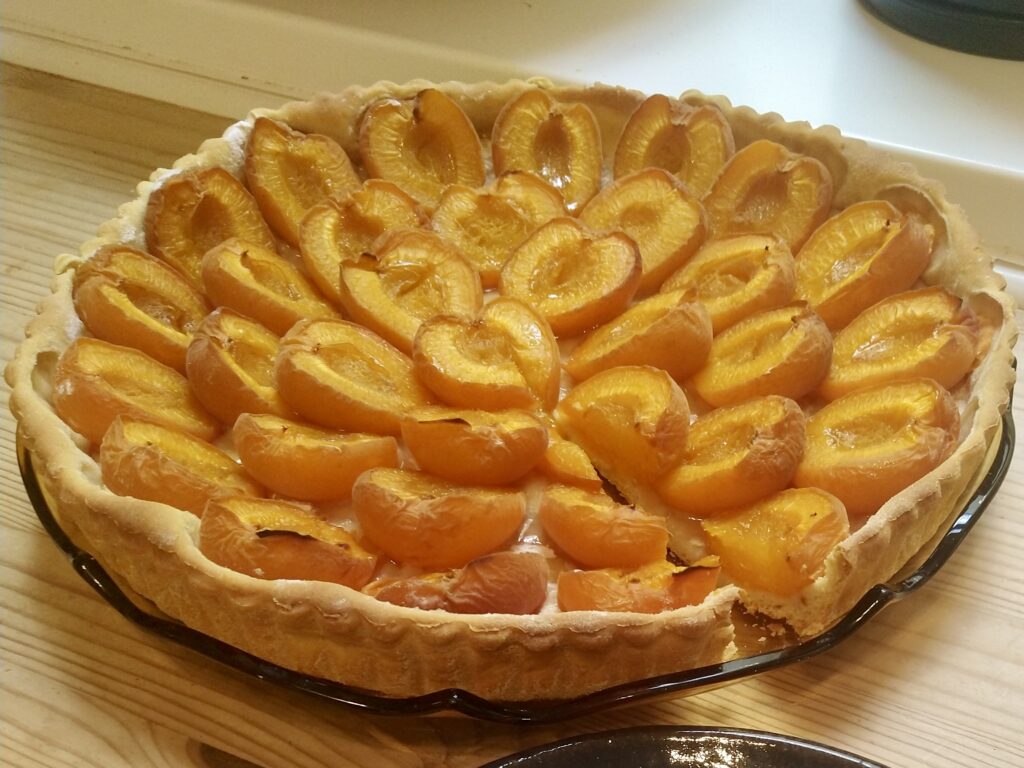
Now I could make you rhubarb, its season in full swing, and apricots, the first of which I had spotted at the market the week before. My aunt, to whom I pitched my ideas, said: “Delicious! Rhubarb with pudding.” And so finally, I chose to make one vlaai filled with fresh apricots and another one with a layer of custard pudding topped with rhubarb and let the sun break through.
On a Saturday morning, I went to the market. The most delicious looking apricots at one of my go-to greengrocer’s (the fruits slightly smaller, slightly more of a blush) were too expensive still (they will get cheaper later in the season), so I bought apricots from a good Turkish shop for half the price. As for the rhubarb, I did buy it from the greengrocer’s, just a little bit more expensive, but I trusted the quality would be high and so I was happy to pay the extra euro.
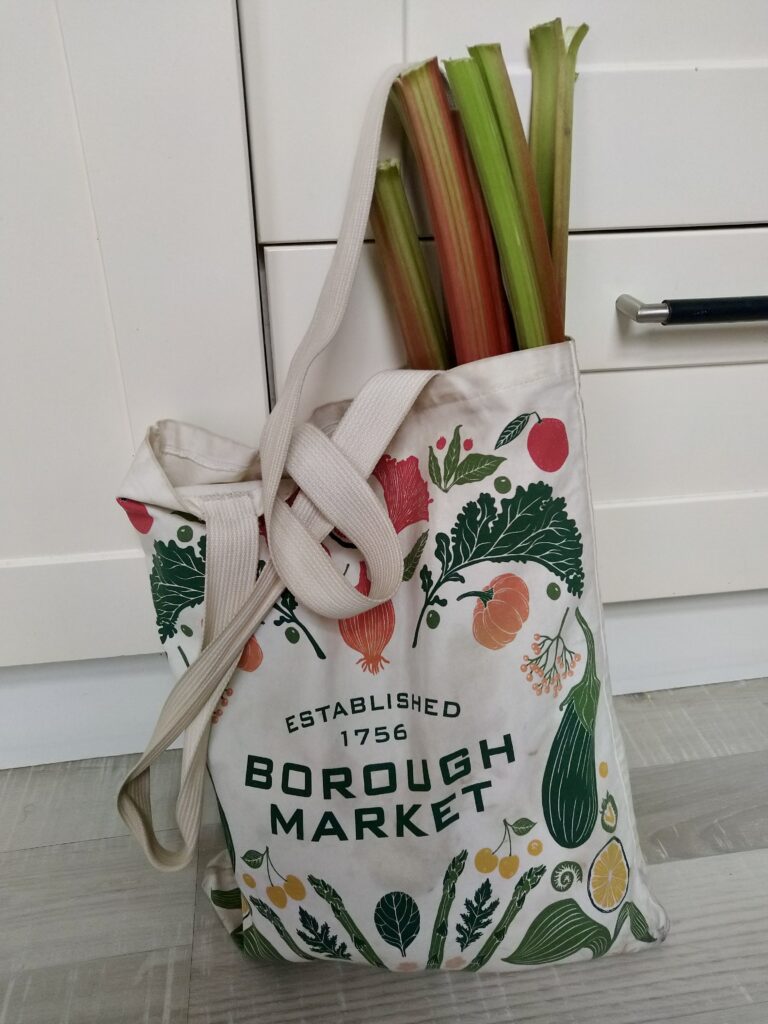
Arriving in the kitchen with the fresh produce, we can start talking about baking.
Generally, I find it easier to bake several vlaaien rather than just one. Also, three vlaaien is basically a party. The effort is in the dough (regardless of the quantity) more than in the fillings. And so, I like to work with dough from at least half a kilo of flour, enough for two or three vlaaien, instead of measuring out 200 grams to make one vlaai only. If you do not feel like baking a second vlaai, there are plenty of other ways to use the leftover dough.
A classic way to use it, is “knapkoek” (snapbread/snapcake). The idea is similar to that of a pizza bianca (Italians, please tell me if I’m wrong), in the sense that it is a simple unfilled bottom, like a flatbread. Traditionally, we spread the empty bottom with butter, then sprinkle with sugar and cinnamon. Rolled out thinly and it will become crisp in the oven and store well in a biscuit tin as a treat with tea or coffee. Rolled out more thickly the result will be softer and moister inside, still good with tea, but also with breakfast for those who like it sweet.
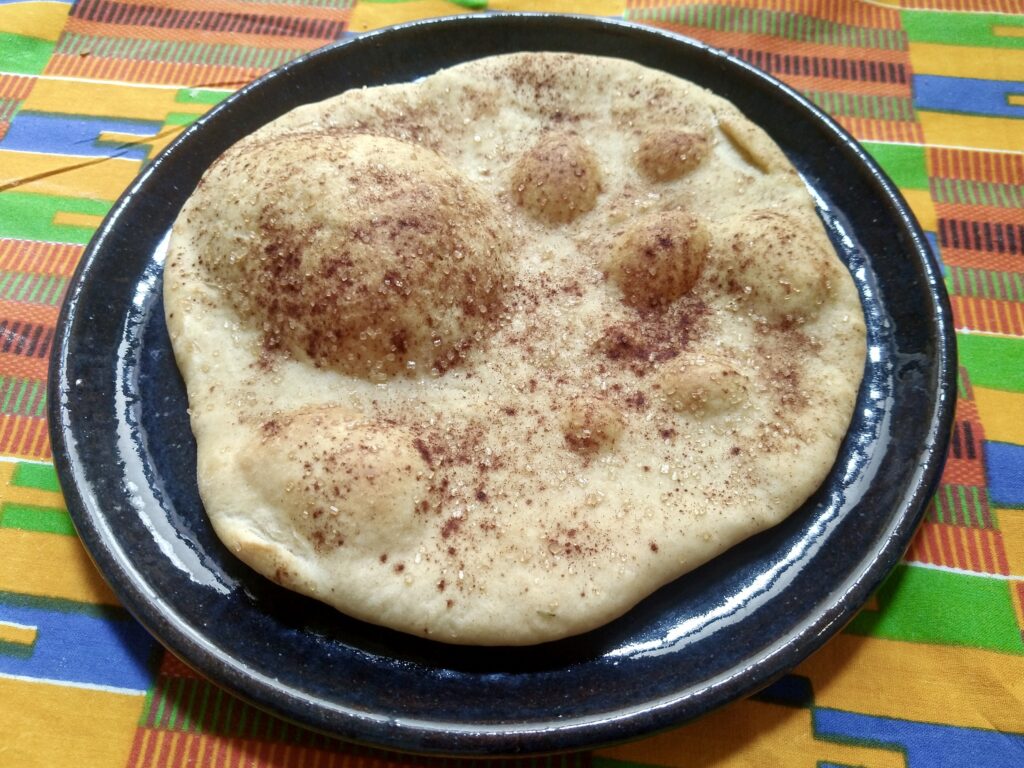
Of course you can shape leftover dough into a bread or little rolls. Lighter than a brioche, but richer than regular bread, the soft crumb and milky dough will pair beautifully with butter and jam, or chocolate-hazelnut paste, but also with savoury toppings. Or have it just on its own.
Last suggestion, make a meal out of it: roll the dough out, then transfer to a baking tray and top it with anything you like. My mother often makes tray-bake “pizza” (in a very non-Italian way), and I imagine taking inspiration from Flammkuchen would also be delicious, topping it with things like cheese, ham, mushrooms, thin onion slices, cooked leeks etc.
Just saying, even making one vlaai, can make for a happy baking event, because of, rather than despite the leftover dough. This time, I chose to make some knapkoek and little bread rolls and and I will take you with me making them all below.
A last note before we start baking, this is not a recipe in the true sense. The quantities are indications, not prescriptions or rules to abide by. There are many ways to do it right. For example, next time, I will probably make a thinner layer of custard (from 400 ml of milk) and use the full kg of rhubarb (I left some aside) for proportions that better suit my likings. You can start here, with my indications, and as you make it more often you will learn how to improvise for the best results.
Baking vlaai
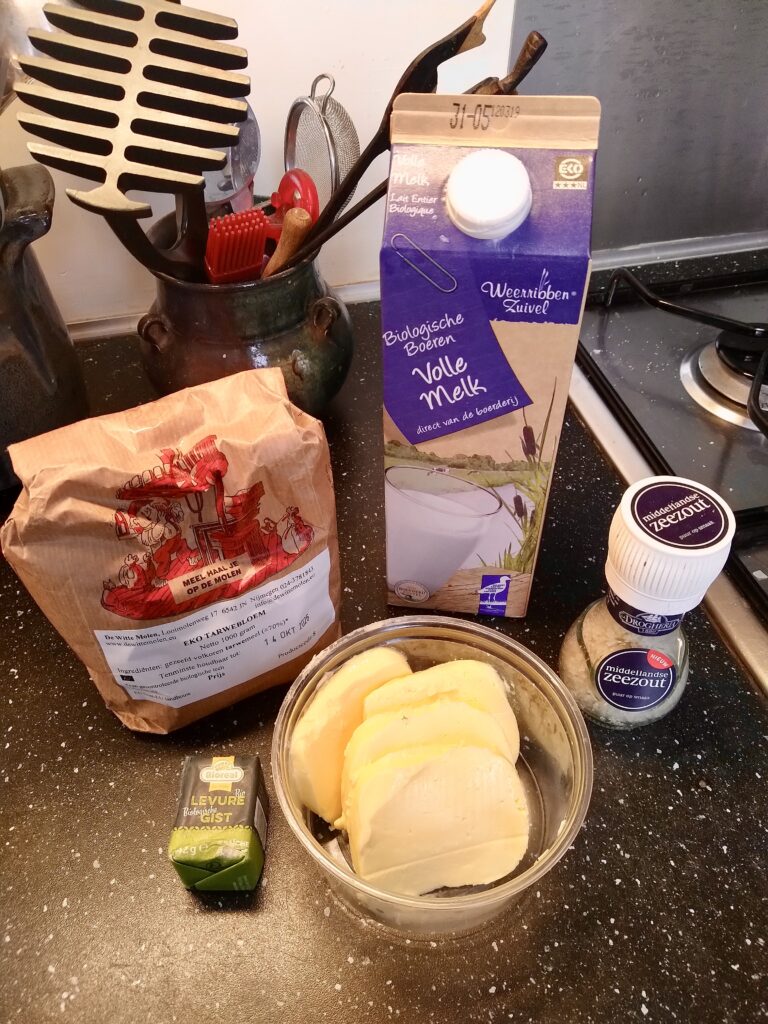
For the dough
Ingredients
500 grams of flour suitable for bread (regular wheat or spelt wheat). I used fully white regular wheat flour (T0/T65) this time, which is most common, but sometimes I like it a bit more nutty and savoury and I mix with half white, half wholemeal flour or use a flour that is in between (T1/T80). Sometimes I use spelt, depending on what I have and what I like. If, in your case, that happens to be all-purpose flour just because you have it in your cupboard, it will do just fine.
75 grams of butter
250 of full-fat milk (use a little more when using wholemeal flour or instant yeast rather than fresh)
25 grams of fresh yeast or 7 grams of instant yeast (1 sachet) (you can either activate the fresh yeast by mixing it with a teaspoon of sugar or dissolve it in a bit of lukewarm water before adding to the flour. Instant yeast can be added to the dough without previous treatment.)
a pinch of salt
Preparation
Start by preparing the yeast and mix with a teaspoon of sugar or dissolve in lukewarm water and set aside.
In a big bowl, put 400 grams of the flour and add, on the right side, a pinch of salt (away from the yeast, which we will add to the left side).
In a saucepan, on a low heat, gently warm half of the milk and all of the butter until the butter has softly melted into the milk. Take off the heat and add the rest of the cold milk. (This way you make sure to not kill the yeast by overheating when added to the flour.)


Add the yeast mixture to the left side of the bowl and mix in with some of the flour (it will protect it from the salt, which may also kill it otherwise).
In the middle of the flour, make a hollow and pour in the milk with the melted butter from the pan. Mix first with the left side, then mix all in until it comes together as a dough.
You can now continue kneading in the bowl or on a floured working surface. In the bowl, simply use your knuckles to press the mass down, then fould the back half over the front half and repeat. You can keep one hand clean to turn the bowl as you go and to add extra flour to the sides of the bowl until the dough will come clean of the bowl.
On a working surface, dusted with flour, the principle is the same: stretch, fould, turn, while adding bits of flour until the dough is not sticky anymore, yet still moist and soft. As you knead you can feel the dough become more tender and more elastic. Knead for about ten minutes. I love the feeling of the warming velvety dough in my hands, smelling of warm milk and butter.
Shape your dough into a ball while tucking the dough in, in the middle underneath, creating some tension on the surface of the dough.
Dust the bowl (now cleanish from dough) with flour and put in the ball. Remember roughly how big it is, it will have more or less doubled in size once risen. Cover with a damp tea cloth and put aside for about an hour. (Start checking after about 45 mins.)


In the meantime, start preparing the fillings (or you can prepare parts of it before the dough in order to give yourself a bit more time). In any case, start with making the custard.
For the rhubarb-custard filling
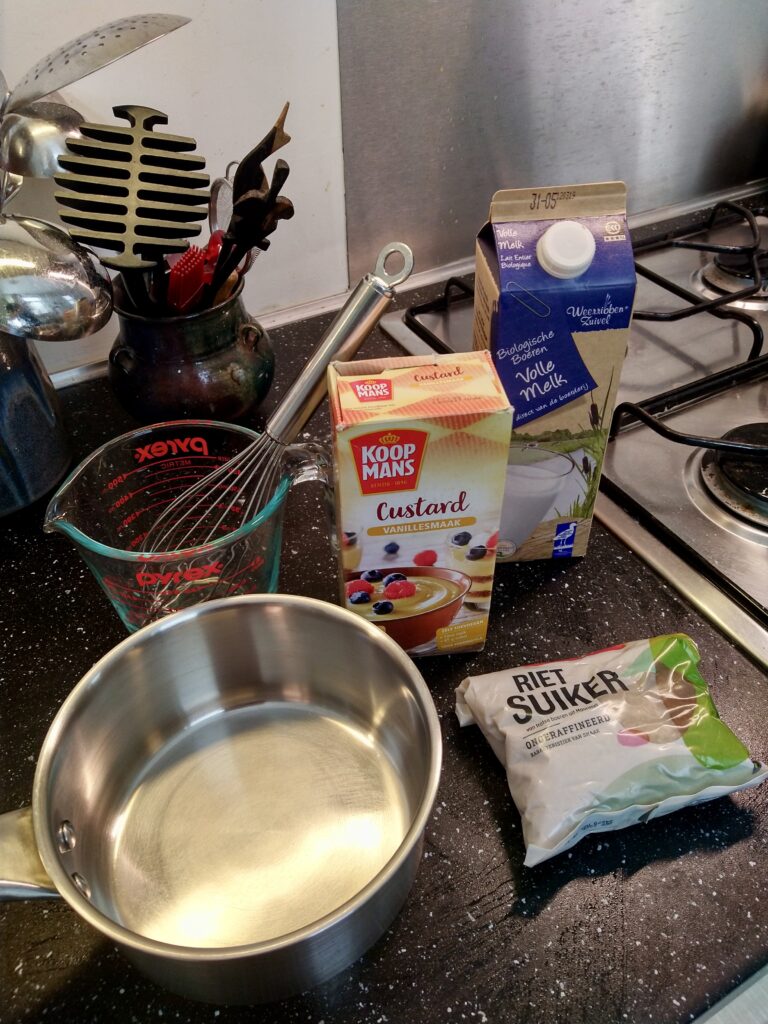
Custard
Ingredients
50 grams of custard powder
50 grams of sugar
550ml of milk
Preparation
Measure the milk in a measuring jug, then put the milk in a saucepan or a pot. In the jug, weigh the custard powder together with the sugar. Add back some of the milk from the pan to mix. Put the pan on a medium heat to bring the milk to a boil.
In the meantime, mix in well sugar, custard powder and milk, making sure all is dispersed evenly and there are no lumps left.
Once the milk starts boiling (Don’t walk away, I have let the milk flood the stove too many times. Try it if you don’t believe me.), give the custard-sugar mixture a last whisk to take all the crystals sinking to the bottom and add to the boiling milk, stirring quickly to prevent lumps. The pudding will thicken. Keep stirring until it starts bubbling. Take off the heat, stirring every now and again to prevent a skin forming on top.


Rhubarb
Ingredient
1 kg of rhubarb stalks
Preparation
Clean the rhubarb stalks, cut off the tough bottoms of each stalk and cut the rest into 1cm slices.
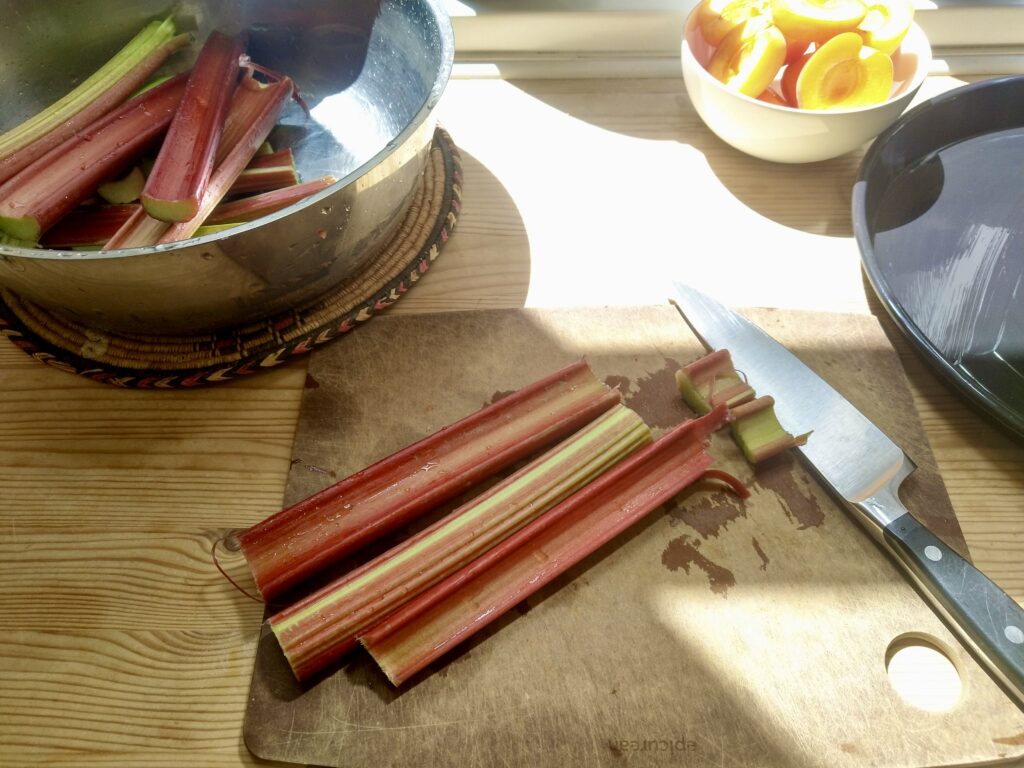
Bring a big pot of water to the boil. Add the rhubarb slices and blanch for a maximum of two minutes, until slightly softened but still firm, then drain.
For the apricot filling
Ingredient
1,5 kg of fresh apricots
Preparation
Wash the apricots in a big bowl of water, then drain in a colander. Slice them in halves and remove the pit.


For the composition of the vlaai
Preparing the bottom
Check the dough. It has risen enough, when it has roughly doubled in size and when pushing it softly with your finger, the dough will bounce back partly, leaving a small dent (not bouncing back at all means it is over proofed, bouncing back fully means it needs a little longer).
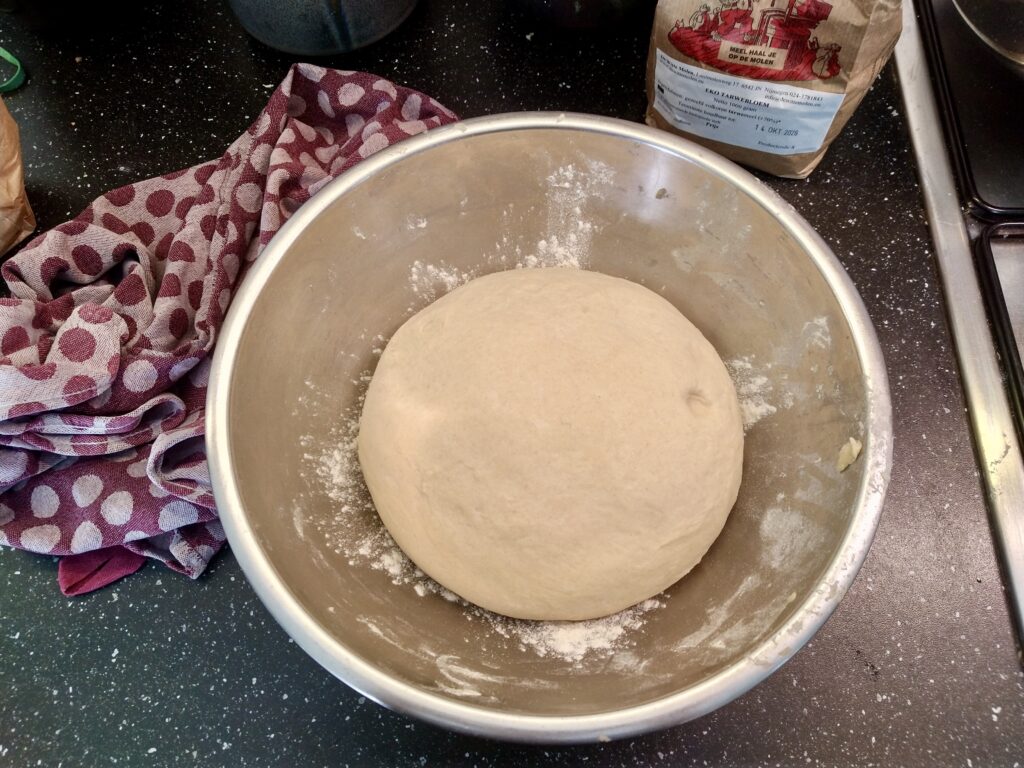
Use your fist to push out all the air. Shape them into two or three balls (or two and a half, each vlaai needs about 200 grams of flour, about 2/5s of the total in this case), creating surface tension by tucking in the dough underneath like the first time. Then dust with a little flour and put them back in the bowl or leave them on a dusted working surface, covered again with a damp tea cloth. Leave them like this for 15 mins or so, while you prepare the rest.


Grease two low tart tins (ideally 30 cm in diameter, but 26 or 28 cm will do just fine) with butter or oil, then dust them with flour: add a spoon of flour and shake it all around the tin.


Get a rolling pin. Dust the working surface with flour and roll out the first ball to a circle of 3-4 mms thick and about 35-40 cm in diameter (diameter of the tin plus twice the height). You can check by putting the tin over the sheet of rolled out dough. While rolling, turn the sheet around round and flip it upside down to make sure it is rolled out evenly, using flour to prevent it from sticking to the working surface.
Once done, fold it in two, then in two again into a quarter piece. Put in the tin and unfold to cover the tin. Let it fall into the edges. Then use the pin to roll it over the edges and remove any surplus dough. Prick the bottom with a fork (about eight times) to prevent big bubbles during baking.


Rhubarb custard vlaai
Spread out the custard pudding over the bottom of the vlaai, using a spoon to even the surface. Then cover with the rhubarb to create a generous layer on top of the pudding. It is not a problem if some of the pudding can still be seen through.
Bake at 200 degrees for about 25 mins until the rhubarb has gone soft and the crust has brown nicely and has come loose of the tin. Don’t hesitate to give it five or ten more minutes if necessary. Take it out of the oven and put the vlaai in the tin on a wire rack to cool. Sprinkle with some sugar if you like it sweet. I did not, as I like the tang of the rhubarb contrasting with the sweet pudding for a good balance of flavours.


Once it has cooled and dried for about half an hour and the pudding has firmed up (enough to lift it all without the fear of tearing the bottom, use your fingers and senses for this), take a big knife and go all around the edges to lift the sides of the vlaai gently from the tin and test that it’s completely loose from the bottom of the tin. Then take the tin in your left hand, inclining it towards the rack, use the knife, or your right hand to lift the vlaai from the tin and shove it onto the rack. Leave it to cool and dry and crisp up further on the rack (at least four hours or simply overnight).
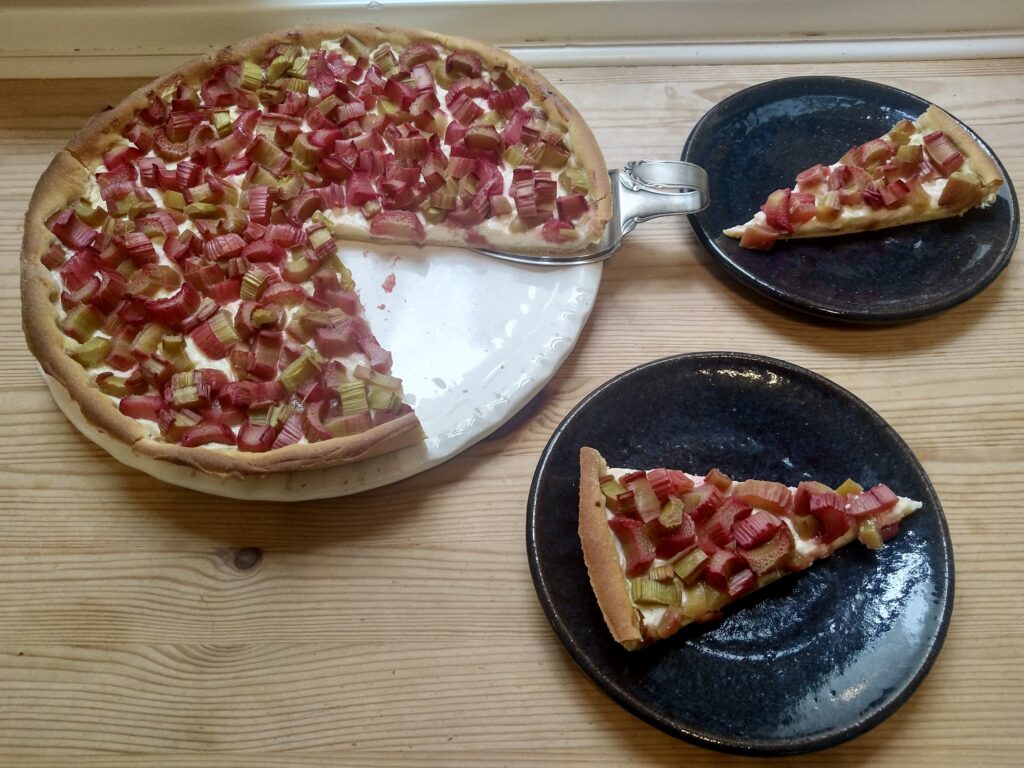
One vlaai down, one more to go.
Fresh apricot vlaai
First spread out some potato starch over the bottom (about a teaspoon), then prick with a fork. Lay the apricot halves in concentric circles (starting outside) over the bottom of the vlaai. Then bake at 200 degrees for about 25 minutes until the apricots have softened and browned slightly and the crust has become brown, letting go of the tin.


Take out of the oven onto a wire rack to cool. Sprinkle with some sugar if the raw fruits were not sweet enough for you, or too sour. Generally, I find, when the fruit is good and ripe, no further sugar is necessary.
Leave it to cool for about half an hour until the dough and juices have dried out and firmed up a bit, then transfer the vlaai from the tin to dry further on the tray.
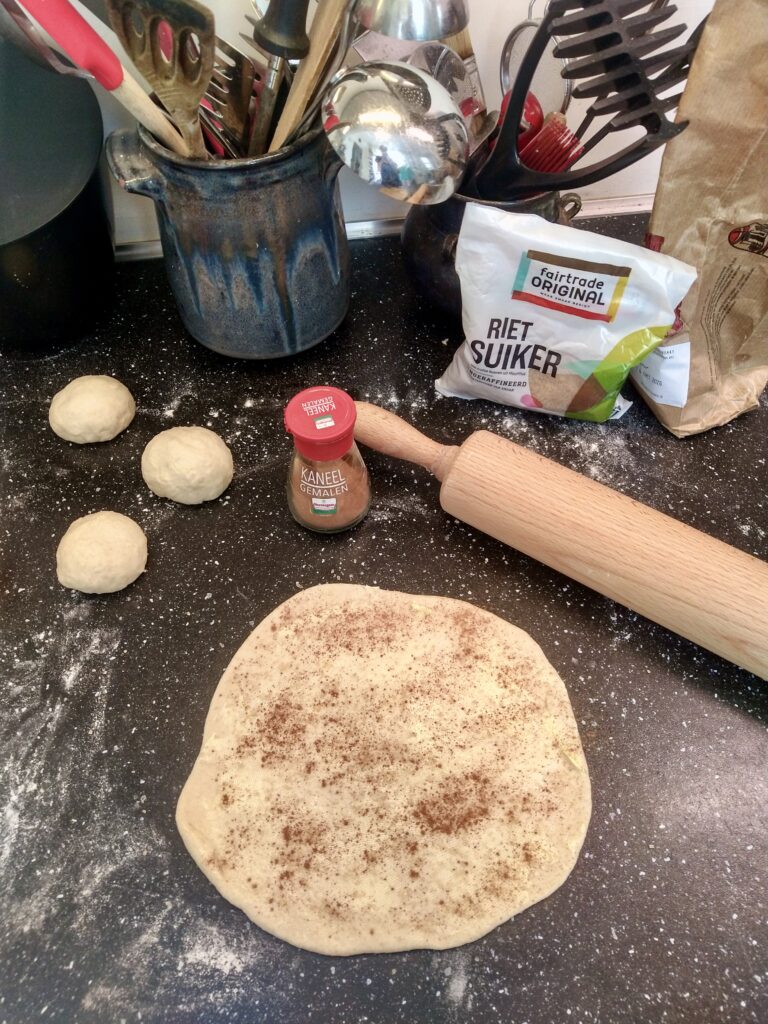
Knapkoek
Roll out the leftover dough (you can include all the edges your rolled off the tins too) like a vlaai bottom to the size and thickness of your liking. Spread with soft butter, sprinkle with sugar, then with cinnamon. Bake in the oven at 200 degrees for about 15 minutes until it has browned nicely, or a little longer if you prefer it fully dry to keep as biscuits in a tin. Let it dry and cool down on a rack.
Small milk bread rolls
Make small balls from the dough, any size you like. Leave them to rest and rise for a bit (15 up to 30 mins) before baking (though I believe I forgot after the full-blown vlaai session and put them into the oven with the knapkoek not long after shaping), they will rise further in the oven. Bake at 200 degrees for about 15 minutes until brown and tapping the bottom will make a hollow sound. Otherwise, leave them to bake a little longer. Let dry and cool down on a rack.
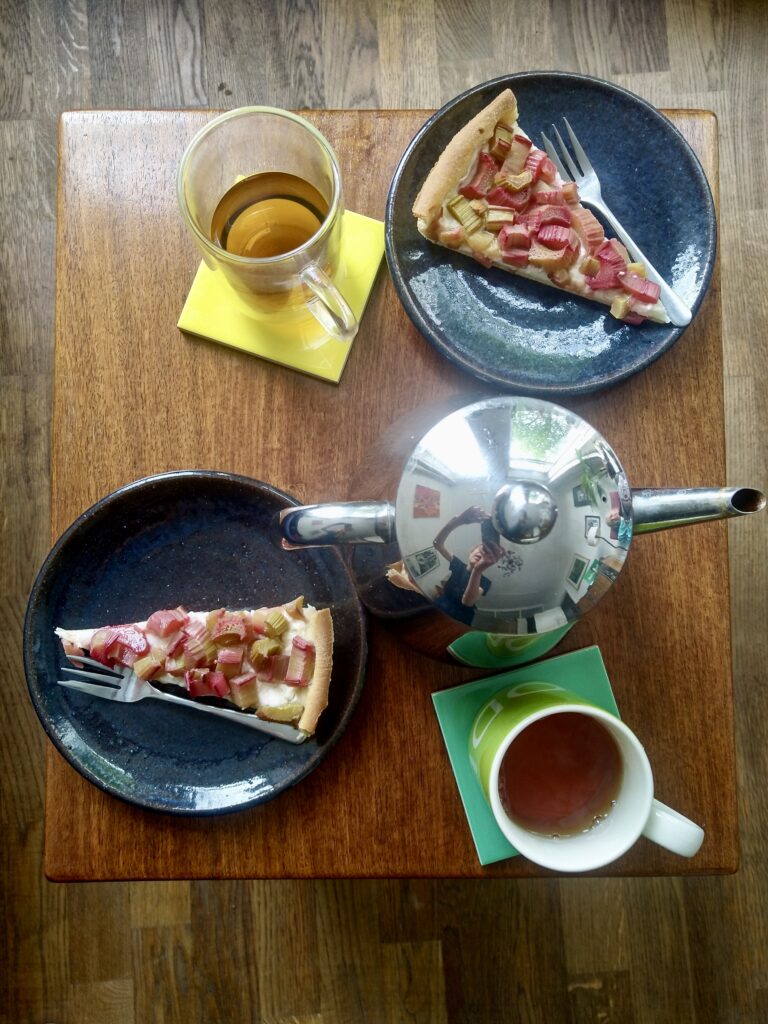
As for the eating, out of hand, from a buffet full of vlaai is the most festive full-blown experience. But it also requires a big company of people and the celebration of all coming together. Just not always happening. So do it anyway you like and have occasion for. We were two, and I just made us a simple tea, with each a piece of rhubarb, served on small plates with a fork.
I left one vlaai (half and half) to treat to guests the next day. The other pieces I packed in boxes to bring to the people I promised some. Two pieces of apricot, I put in the freezer (Don’t do this with pudding filled vlaai, it will lose its texture too much.). It will lose some of it’s quality but not so much that I would not fully savour it as a surprise treat on a moment in between.
Thank you for joining me for this vlaai baking session. I hope you enjoyed it and that you will maybe even try for yourself. I would be very happy to see your baking and/or answer any questions you may have about vlaai, our tradition and baking, buying or eating it.
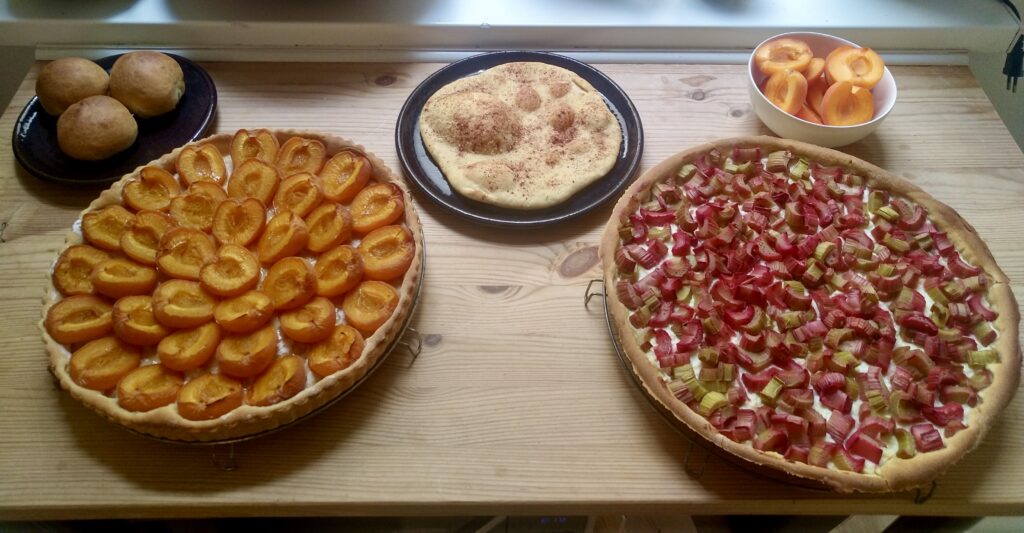
This is also the end of this special miniseries about vlaai and tradition. I will say goodbye for now and leave you with the last pictures of the results.
See you soon.
Warm wishes,
Sophie


Mouthwatering photographs,
Baking witchcraft.
I wonder haw the grand grand mothers made the custard, before custard powder was available
Thank you very much for your beautiful comments.
As for the custard, before the use of custard powder (and also today as an alternative to custard powder), the pudding was made with egg yolks, vanilla and starch or flour, similar to a crème pâtissière. I grew up with the powder and it is a cheap and easy alternative. That said, I’m sure the original ingredients make for a vlaai richer in flavour and creamier in texture.